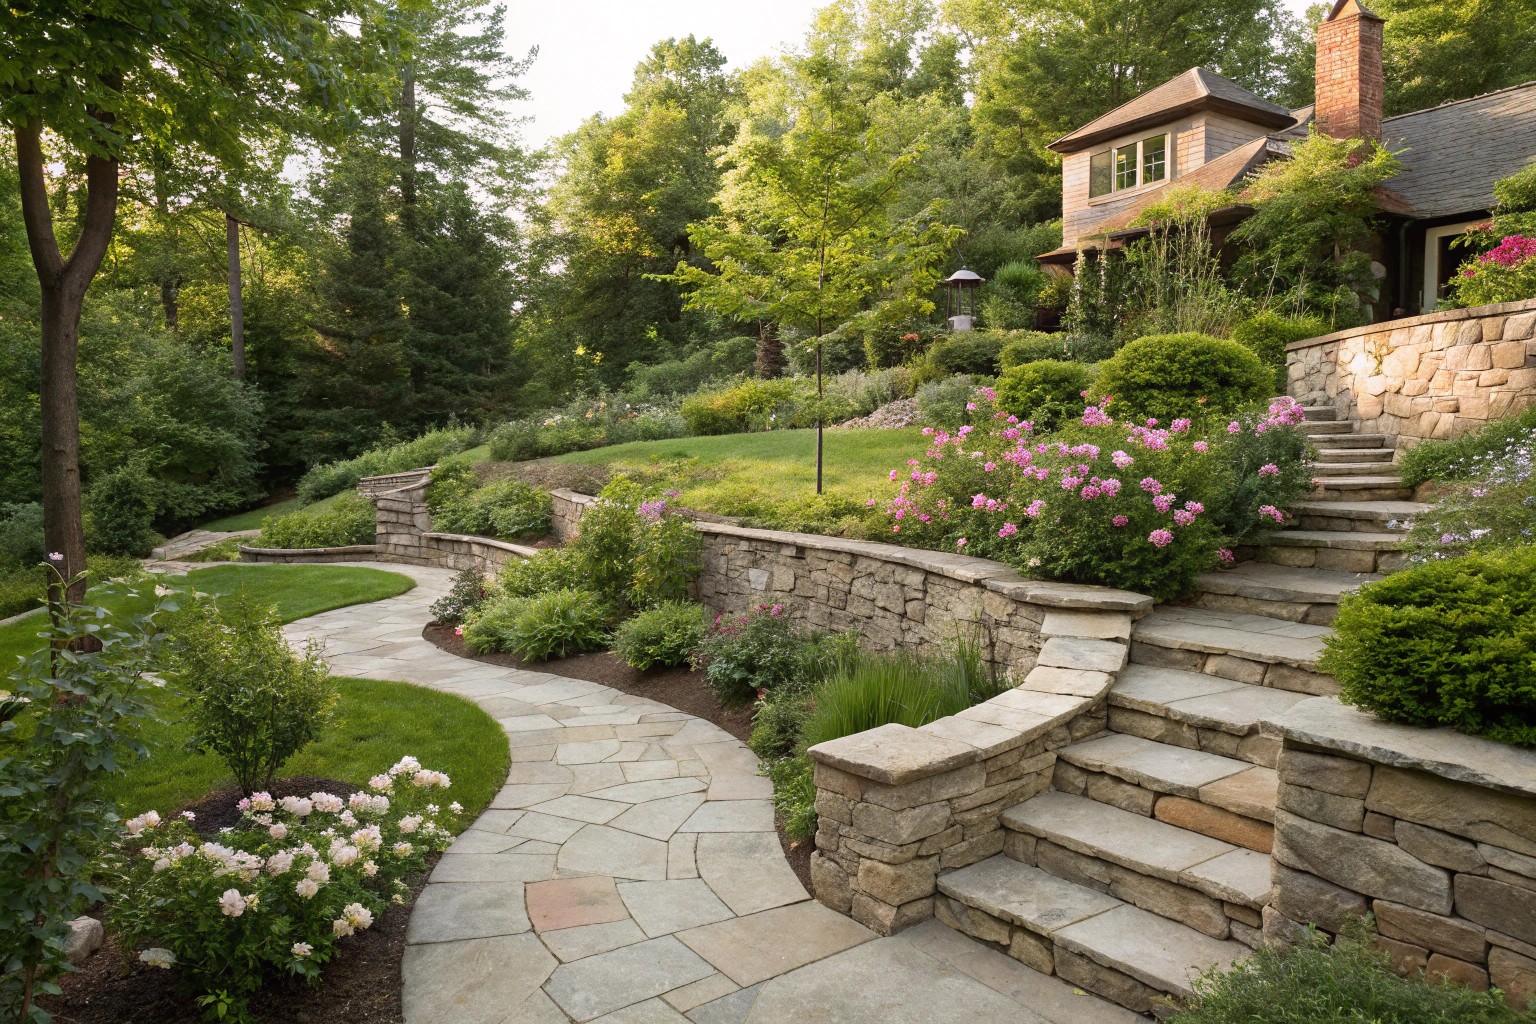
Creating beautiful, functional outdoor spaces is both an art and a science. The proper integration of hardscaping elements forms the backbone of any successful landscape design. From elegant stone pathways that guide visitors through your garden to inviting patios where memories are made and sturdy retaining walls that tame challenging slopes—these structural components define your outdoor living experience while solving practical problems. This comprehensive guide delves into everything you need to know about designing, selecting materials for, installing, and maintaining three essential hardscaping elements: paths, patios, and retaining walls.
Understanding Hardscaping Fundamentals
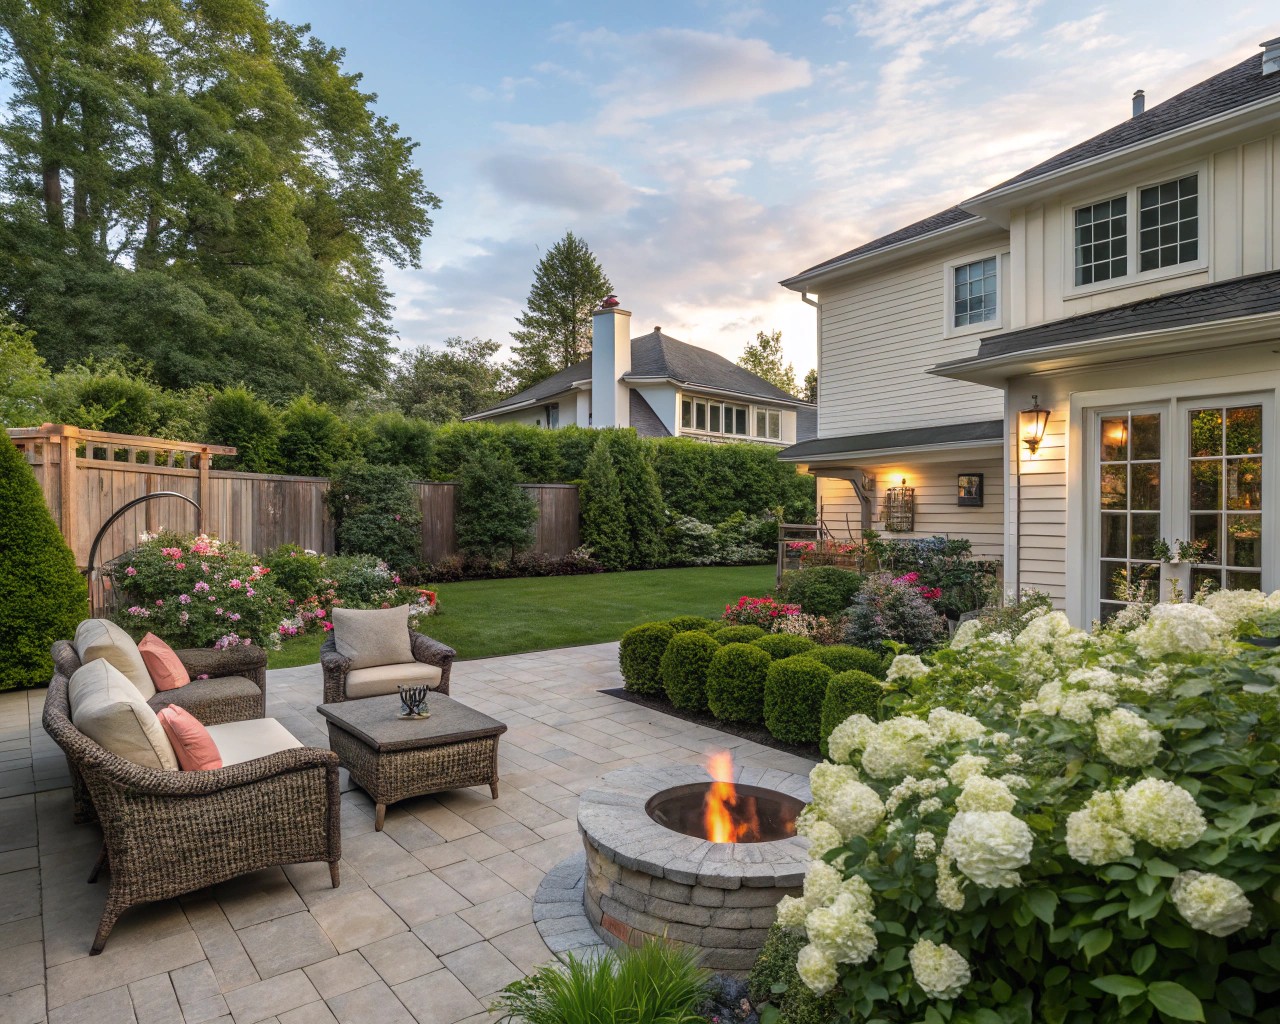
Hardscaping refers to the non-living elements of landscape design—the “hard” components that provide structure, function, and visual interest. While softscaping encompasses plants, trees, and other living elements, hardscaping includes features like walkways, patios, retaining walls, and water features.
When properly executed, hardscaping can:
- Increase property value by up to 15%
- Define and organize outdoor spaces into functional zones
- Reduce maintenance requirements compared to plant-heavy designs
- Control erosion and manage drainage issues
- Create level spaces on sloping properties
- Enhance the overall aesthetic appeal of your landscape
The Critical Relationship Between Hardscape and Softscape
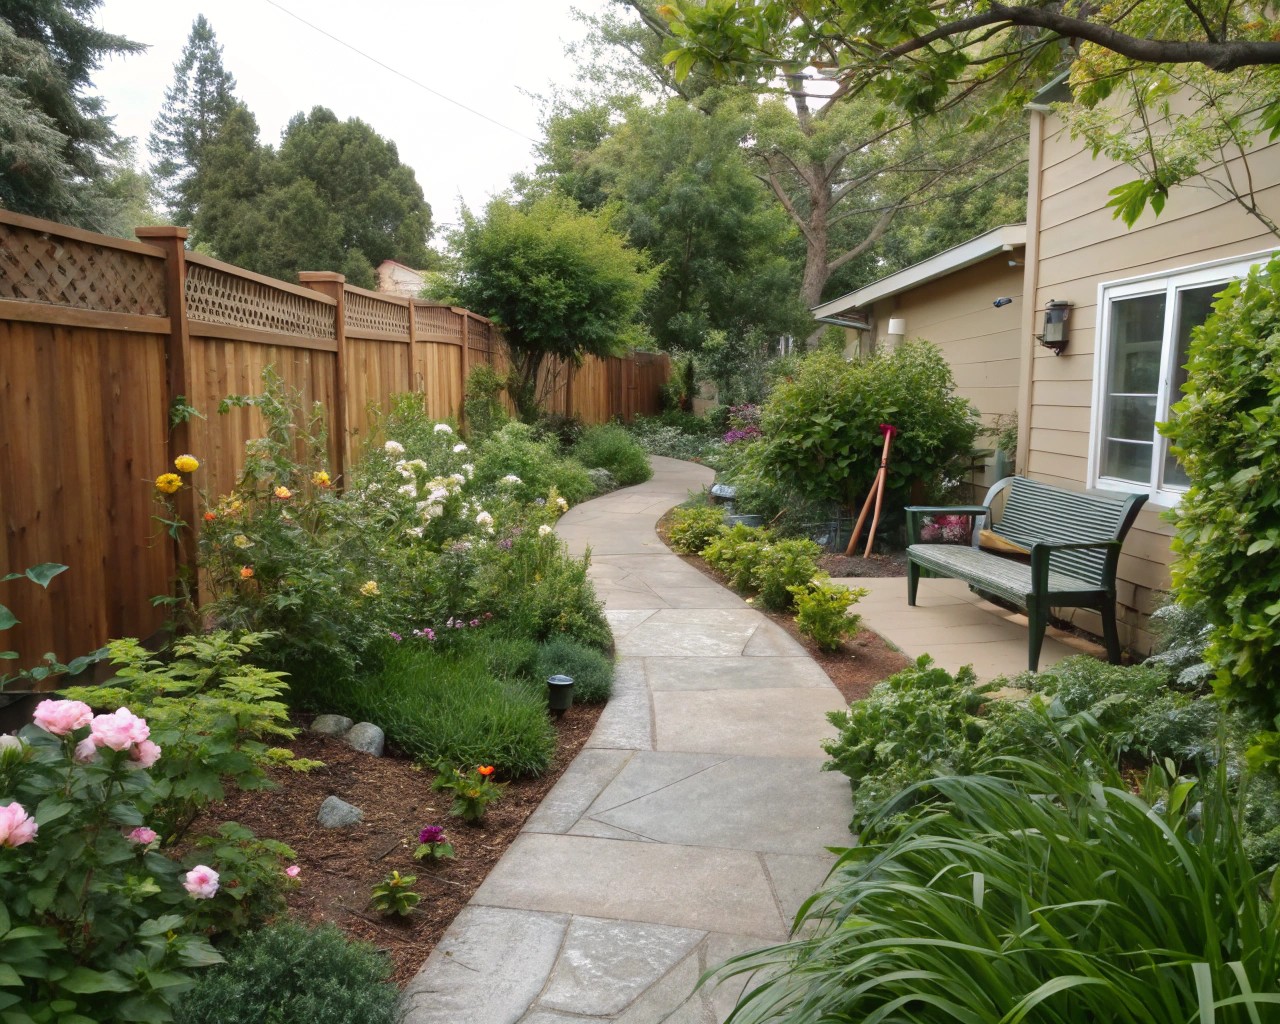
The most successful outdoor spaces achieve a harmonious balance between hardscape and softscape elements. Here are some tips for combining them effectively:
- Incorporate color through plants to complement neutral hardscape tones
- Use lines to guide the eye through the landscape
- Pay careful attention to drainage where hardscape meets softscape
- Create focal points with a blend of hard and soft elements
- Use native plants to enhance sustainability
Planning Your Hardscape Project
Before breaking ground on any hardscaping project, thorough planning is essential for achieving your desired outcome while avoiding costly mistakes.
Assessment and Design Considerations
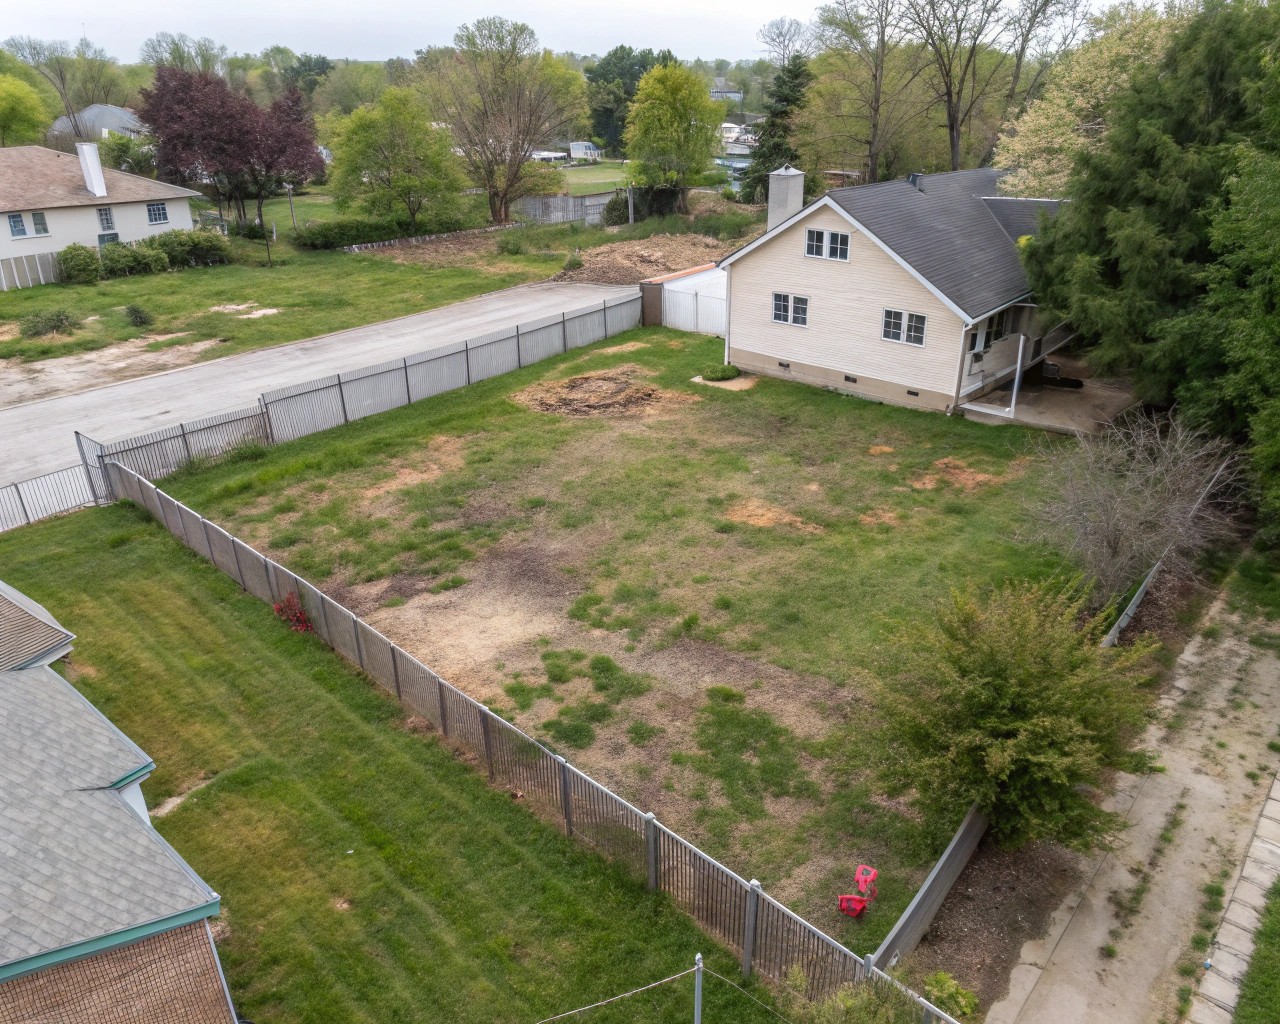
Begin by evaluating your space and determining how you’ll use it. Consider factors like:
- The existing style of your home and surrounding landscape
- Traffic patterns and accessibility needs
- Climate and seasonal changes in your region
- Budget constraints and long-term maintenance capabilities
- Local building codes and permit requirements
- Drainage patterns and potential water management issues
Creating a scale drawing of your space helps visualize how different elements will interact. Consider these design principles as you plan:
- Balance: Distribute elements evenly throughout your space
- Proportion: Maintain harmony with your outdoor space’s scale
- Unity: Select complementary materials that work together
- Focal points: Use design elements to draw attention
- Functionality: Ensure practical usability while enhancing aesthetics
Project Timeline Considerations
Understanding the time investment required for your hardscaping project helps set realistic expectations:
| Project Type | DIY Time Estimate | Professional Time Estimate | Seasonal Considerations |
|---|---|---|---|
| Simple pathway | 1-2 weekends | 1-3 days | Best in spring or fall |
| Standard patio (400 sq ft) | 2-3 weekends | 3-5 days | Avoid extreme temperatures |
| Basic retaining wall (under 3′) | 2-4 weekends | 2-5 days | After rainy season but before ground freezes |
| Complex patio with features | Not recommended for DIY | 1-3 weeks | Flexible with professional installation |
| Structural retaining wall (over 3′) | Not recommended for DIY | 1-2 weeks | Requires permits and dry conditions |
Designing and Installing Paths
Paths and walkways serve both practical and aesthetic purposes in your landscape, guiding movement while enhancing visual appeal.
Path Types and Applications
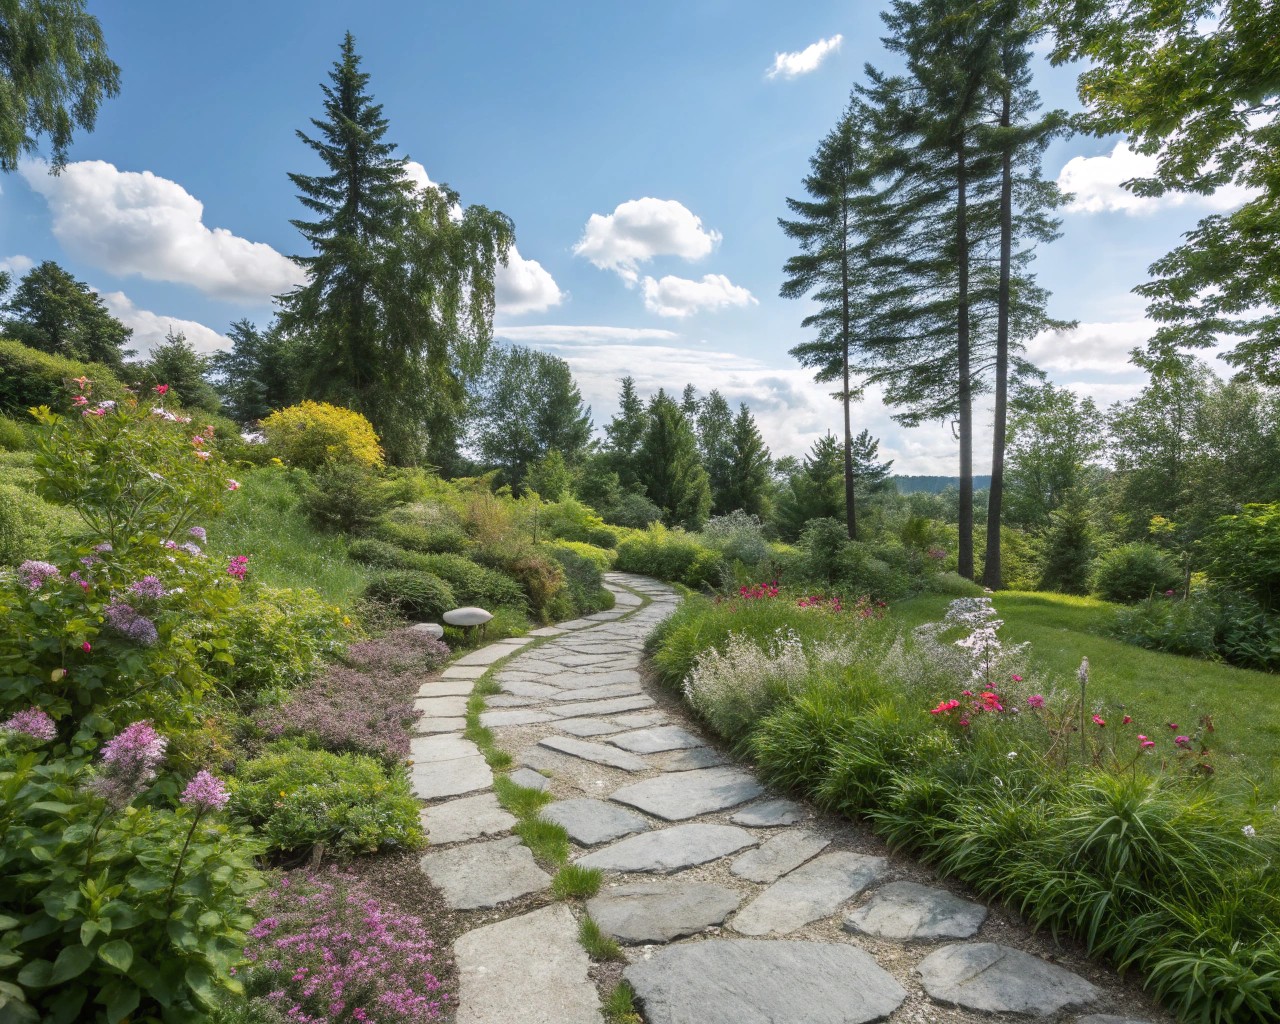
Different path styles serve various functions in the landscape:
- Primary paths: 4-5 feet wide, for main entrances and high-traffic areas
- Secondary paths: 2-3 feet wide, for accessing garden zones
- Informal paths: Meandering routes made of mulch, stepping stones, or gravel
- Driveways: Designed for vehicles, requiring more robust construction
Material Selection for Paths
The right material for your path depends on your desired aesthetic, budget, and functionality:
Natural stone (flagstone, bluestone, limestone, slate)
- Advantages: Rustic charm, durability, unique character
- Challenges: Higher cost, installation complexity
- Best uses: Garden walkways, formal entries, patios
Pavers (concrete, clay, or stone)
- Advantages: Versatility, wide range of colors/shapes, simple repairs
- Challenges: Joints may require periodic re-sanding
- Best uses: Driveways, patios, pool surrounds
Brick
- Advantages: Warm traditional feel, good slip resistance
- Challenges: May crack in freeze/thaw cycles, absorbs moisture
- Best uses: Classic walkways, garden borders
Concrete
- Advantages: Economical, extremely versatile (can be stamped or colored)
- Challenges: May crack over time, repairs are visible
- Best uses: Driveways, modern designs, budget-conscious projects
Gravel
- Advantages: Inexpensive, excellent drainage, informal charm
- Challenges: Requires containment, regular replenishment
- Best uses: Secondary paths, transitional areas, Mediterranean designs
Path Installation Steps
For a successful path installation:
- Mark the path layout with stakes and string
- Excavate to a depth of about 6 inches
- Add 4-6 inches of compacted crushed stone base (CA6)
- Add 1 inch of leveling sand
- Install your chosen surface material
- Fill joints with polymeric sand for pavers or bricks
- Compact surface as needed and ensure proper drainage slope
My professional tip: Always create a slight crown or slope (1-2%) on path surfaces to encourage water runoff away from foundations and prevent puddles.
Creating Beautiful, Functional Patios
A well-designed patio extends your living space outdoors, creating an area for relaxation, entertainment, and enjoyment.
Patio Types and Designs
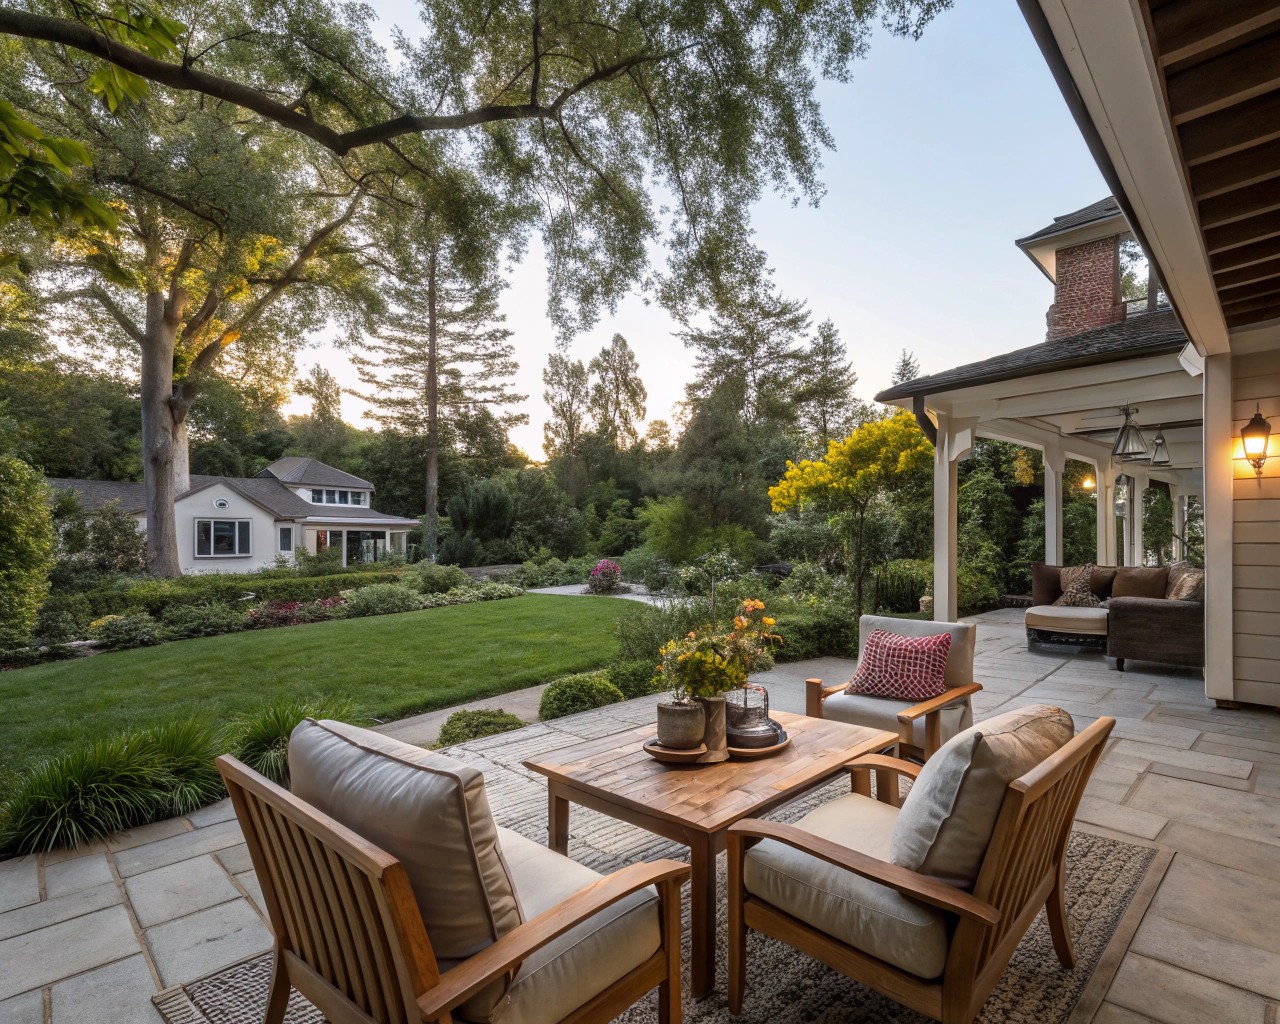
Consider these patio styles based on your needs:
- Adjacent-to-home patios: Direct extensions of indoor living space
- Detached patios: Create separate destinations within the landscape
- Multi-level patios: Ideal solutions for sloped terrain
- Themed patios: Designs centered around specific activities (dining, fire features, etc.)
Material Selection for Patios
Your choice of patio material impacts both aesthetics and maintenance requirements:
| Material | Durability | Cost Range | Maintenance Level | Best Suited For |
|---|---|---|---|---|
| Natural Stone | Very High | $$$-$$$$ | Low | Luxury designs, permanent installations |
| Concrete Pavers | High | $$-$$$ | Low-Moderate | Versatile applications, DIY-friendly |
| Brick | Moderate-High | $$-$$$ | Moderate | Traditional homes, smaller patios |
| Stamped Concrete | High | $$-$$$ | Low | Modern designs, seamless surfaces |
| Wood/Composite Decking | Moderate | $$-$$$$ | High (wood)/Low (composite) | Raised installations, natural settings |
Patio Installation Techniques
Proper installation ensures your patio will remain beautiful and functional for years:
- Determine size, shape, and location
- Excavate to a depth of 8-12 inches
- Install geotextile fabric to prevent weed growth
- Add 6-8 inches of crushed stone base
- Compact the base in several layers
- Add 1 inch of leveling sand
- Install surface materials with a slight slope for drainage (1-2%)
- Finish with polymeric sand for joints
A critical detail often overlooked: proper edge restraints keep pavers from shifting over time. Concrete molded edging is preferable to plastic spikes in sandy or soft soil regions.
Building Effective Retaining Walls
Retaining walls solve elevation challenges while adding visual interest and creating usable space on sloped properties.
Types of Retaining Walls
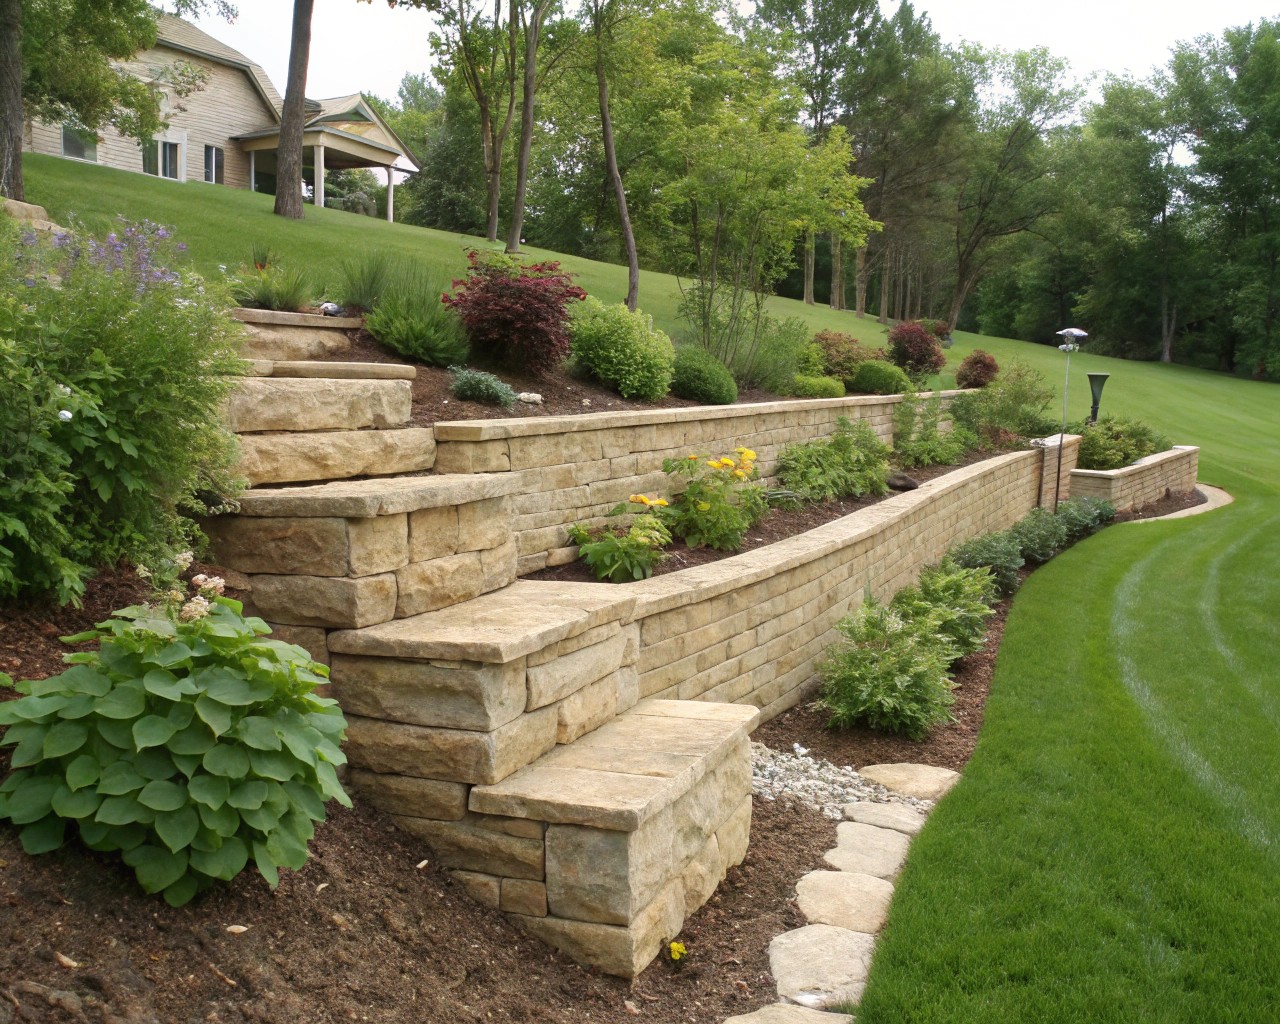
Different retaining wall styles serve various functions:
- Gravity walls: Rely on their own weight to resist soil pressure
- Cantilever walls: Use internal reinforcement for stability
- Tiered walls: Series of smaller walls for steep slopes
- Decorative retaining walls: For heights under 3 feet
Material Options for Retaining Walls
Select retaining wall materials based on height, function, and aesthetics:
- Modular concrete blocks: Easy to install, durable
- Natural stone: Rustic, natural appearance
- Treated timber: Economical but less durable
- Poured concrete: Very strong for larger applications
- Gabions: Wire baskets filled with stone, excellent drainage
Critical Retaining Wall Installation Steps
Correct installation is particularly important for retaining walls:
- Check local codes and necessary permits (especially for walls over 3-4 feet)
- Dig a trench for the base
- Install 6 inches of compacted crushed stone base
- Place a perforated drainage pipe with fabric wrap
- Begin installing blocks or stones, starting with the base row
- Add granular backfill behind the wall (12-18 inches of ¾” stone)
- Install additional layers, offsetting joints
- Cap with appropriate stones if desired
One critical detail that’s often neglected: proper drainage behind retaining walls is essential for preventing failure. We recommend a minimum of 12-18 inches of ¾” stone backfill behind walls with a drain tile to direct water away from the foundation.
Maintenance for Lasting Hardscapes
Regular maintenance extends the life of your hardscaping investments significantly.
Seasonal Maintenance Schedule
Spring:
- Deep clean all surfaces
- Check for winter damage
- Repair joints and seal if necessary
- Inspect drainage after rainfall
Summer:
- Control weed growth
- Clean stains promptly
- Check wall and step stability
Fall:
- Remove leaves and debris
- Prepare for winter
- Apply sealant if needed
Winter:
- Use salt-free ice melt products on concrete and stone
- Snow removal with plastic tools to avoid surface damage
- Avoid piling snow against retaining walls
Common Problems and Solutions
| Problem | Possible Cause | Solution |
|---|---|---|
| Sinking pavers | Inadequate base | Remove and reinstall with proper base |
| Empty joints | Water erosion | Reapply polymeric sand |
| Oil stains | Vehicles, grills | Clean with specific degreaser |
| Efflorescence | Salt migration | Clean with efflorescence-specific cleaner |
| Concrete cracks | Soil movement, freeze/thaw | Repair with appropriate patching product |
| Wall leaning | Inadequate drainage, soil pressure | Consult a professional for evaluation |
Retaining Wall Maintenance
Retaining walls require special attention to ensure their structural integrity:
- Bi-annual inspections: Check for signs of cracking, leaning, or bulging
- Drainage maintenance: Clean gutters and downspouts to prevent water damage
- Sealant application: Apply every other year according to material requirements
- Vegetation management: Control root growth that might compromise the wall
- Prompt repairs: Address small issues before they become serious problems
Sustainable Hardscaping Practices
Today’s hardscaping increasingly incorporates environmentally-friendly approaches:
- Permeable materials: Allow water infiltration to reduce runoff
- Locally sourced materials: Support the local economy and reduce transportation emissions
- Water conservation features: Incorporate rain gardens and bioswales
- Native plant integration: Promote biodiversity around hardscape elements
- Recycled materials: Use recycled content in concrete and other materials

