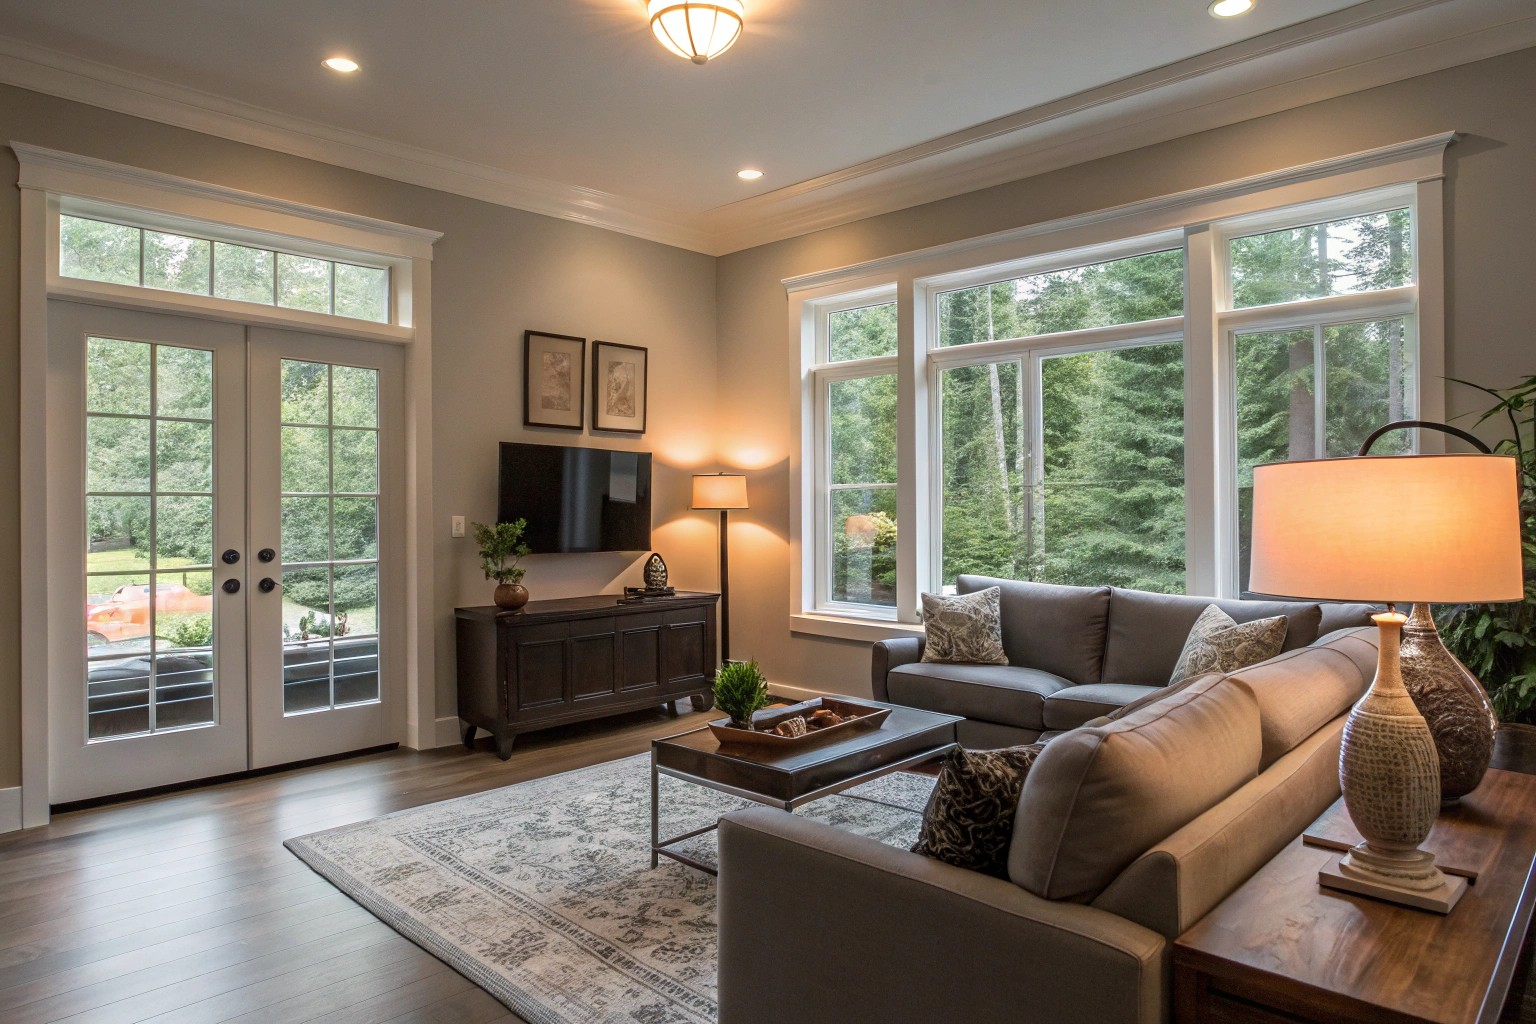
Lighting transforms spaces more profoundly than almost any other element. The perfect lighting plan balances technical precision with artistic vision, creating environments that are both functional and emotionally resonant. This guide walks through the essential components of lighting design—from understanding basic principles to avoiding common pitfalls—providing you with the tools to craft lighting schemes that elevate every room in your home.
Understanding Light Fundamentals
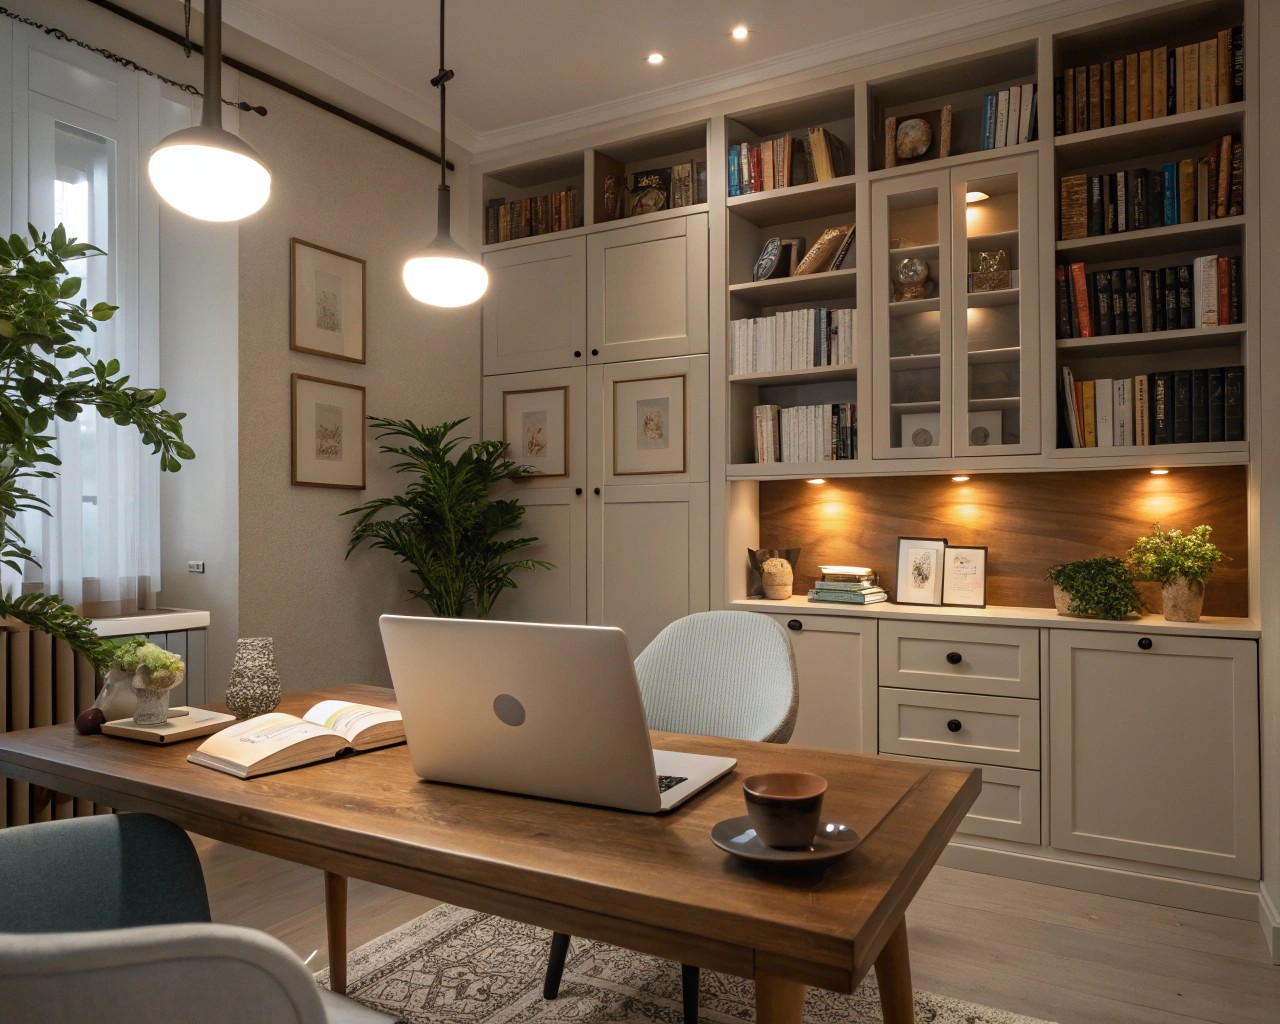
Before diving into planning, it’s essential to understand what we’re working with. Light isn’t just about brightness; it’s a complex design element with specific controllable qualities and functions.
The Four Controllable Qualities of Light
When developing a lighting scheme, consider these four fundamental qualities that can be manipulated to achieve desired effects:
- Intensity: The brightness level ranges from barely perceptible to brilliantly illuminated. Every space requires thoughtful consideration of how intense the lighting should be based on function and atmosphere.
- Color: Light color dramatically influences mood and perception. With modern technology, virtually any color can be created through gels or electronic means.
- Direction: Where light originates from significantly impacts how we perceive objects and spaces. Light can approach from below, above, or any angle in between, each producing unique highlights and shadows.
- Movement: The dynamic aspect of lighting includes changes in intensity, color, or direction. This quality becomes particularly important in spaces that serve multiple functions throughout the day.
Functions of Lighting in Home Design
Effective lighting fulfills four primary functions:
- Visibility: The most basic function—ensuring people can see what they need to see.
- Modeling: Creating depth perception through strategically placed light sources that produce highlights and shadows, giving three-dimensionality to spaces and objects.
- Selective Focus: Directing attention to specific areas through contrast in intensity, essentially guiding the eye where you want it to go.
- Mood: Perhaps the most subtle yet impactful function—influencing the emotional atmosphere of a space through combinations of the controllable qualities.
Light Temperature and Its Impact
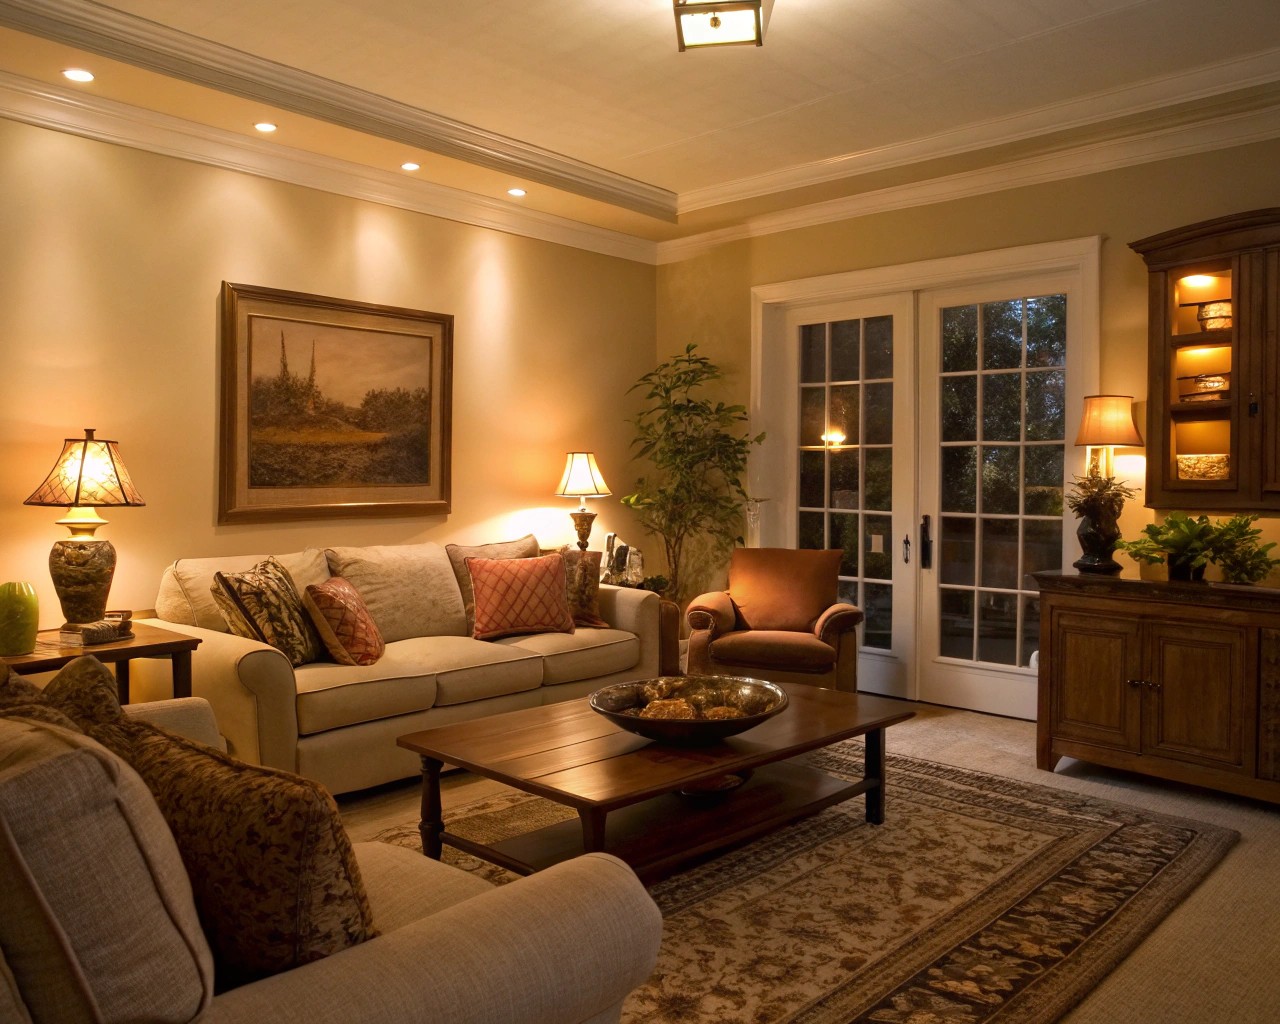
Light temperature, measured in Kelvin (K), ranges from warm (2000K-3000K) to cool (5000K-6500K) and significantly affects how we perceive spaces:
| Temperature Range | Description | Best Used For |
|---|---|---|
| 2000K-3000K | Warm white/yellow | Living rooms, bedrooms, relaxation areas |
| 3100K-4500K | Neutral white | Kitchens, workspaces, bathrooms |
| 4600K-6500K | Cool white/blue | Task-focused areas, art display, garages |
The right temperature choice depends on both function and desired ambiance. Warm light creates intimacy and relaxation, while cooler light enhances focus and precision.
Creating a Comprehensive Lighting Plan
A methodical approach to lighting design ensures both functional needs and aesthetic goals are met. After working on countless homes, I’ve refined this process into clear steps that consistently deliver exceptional results.
Step 1: Draft a Detailed Floor Plan
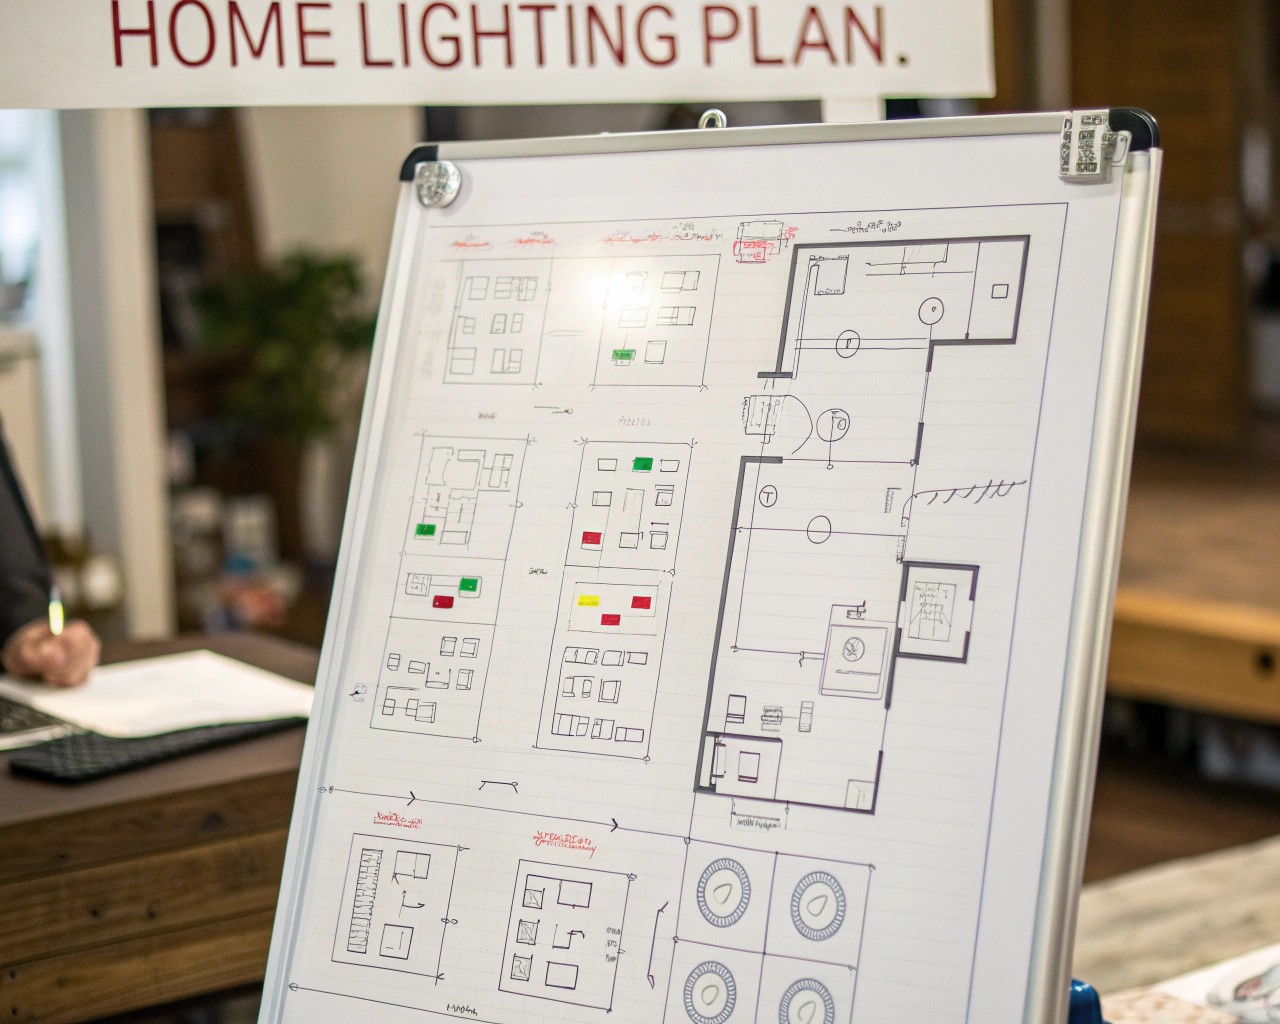
Begin by creating a detailed blueprint of your space, including:
- Room dimensions
- Window and door locations
- Permanent fixtures
- Furniture placement (current or planned)
- Activity zones within each room
This visual reference becomes your canvas for lighting design. Mark areas where specific activities take place—reading, cooking, socializing—as these will require dedicated lighting solutions.
Step 2: Define Activity Zones
For each room, identify the primary and secondary activities:
- Kitchen: Cooking, food preparation, dining, socializing
- Living Room: Relaxation, reading, entertainment, conversation
- Bedroom: Sleep, reading, dressing
- Home Office: Computer work, reading, video conferences
- Bathroom: Grooming, relaxation
Each activity has specific lighting requirements that must be addressed individually while still creating a cohesive overall scheme.
Step 3: Select Lighting Types for Each Zone
Based on activities, determine which lighting types are needed in each area:
- Ambient Lighting: The foundational layer that provides overall illumination to the space.
- Task Lighting: Focused illumination for specific activities like reading, cooking, or working.
- Accent Lighting: Directional lighting that highlights architectural features, artwork, or specific objects.
- Decorative Lighting: Fixtures that serve as visual focal points beyond their illumination function.
- Natural Lighting: Strategically incorporating daylight into your overall lighting scheme.
Step 4: Determine Light Placement
Mark on your floor plan where each light source should be positioned, considering:
- Existing electrical outlets and wiring
- Ceiling height and structure
- Furniture placement
- Traffic flow
- Shadow formation
- Glare prevention
Remember to apply the 5-3-1 rule to ensure proper light layering:
- 5: Task lighting (highest intensity) for specific activities
- 3: Ambient lighting (medium intensity) for general atmosphere
- 1: General illumination (lowest intensity) for basic visibility
Step 5: Select Appropriate Fixtures and Light Sources
Choose fixtures that align with both functional needs and aesthetic goals:
- Recessed Lights: Excellent for ambient lighting and highlighting specific areas without visual interruption.
- Surface Mount Lights: Ideal when recessed options aren’t possible or when a decorative ceiling element is desired.
- Wall Lamps: Perfect for corridors or as complementary lighting in larger rooms.
- Pendant Lights: Statement pieces that provide focused illumination over tables, islands, or seating areas.
- Floor and Table Lamps: Flexible options that can be repositioned as needs change.
- LED Strips: Effective for indirect lighting, under-cabinet illumination, or architectural highlighting.
Technical Considerations for Optimal Lighting
The technical aspects of lighting have evolved significantly in recent years. Understanding these elements ensures your lighting plan is not only beautiful but also efficient and future-proof.
LED Selection Guidelines
When selecting LED lighting, consider these critical factors:
- Lumens vs. Watts: Focus on lumens (brightness) rather than watts (energy consumption). A 60W equivalent LED bulb typically produces about 800 lumens while using only 8-10 watts of power.
- Color Rendering Index (CRI): Choose LEDs with a CRI of 90+ for spaces where color accuracy matters (kitchens, bathrooms, art displays).
- Beam Angle: Select narrow beam angles (15-30°) for accent lighting and wider angles (60-120°) for ambient lighting.
Smart Lighting Integration
Modern lighting plans should consider smart technology integration:
- Compatibility: Ensure selected smart lighting works with your existing home automation system (HomeKit, Google Home, Alexa).
- Scheduling: Program lights to adjust automatically based on time of day, supporting natural circadian rhythms.
- Scene Setting: Create pre-programmed lighting combinations for different activities (dining, entertaining, movie watching).
- Voice and App Control: Select systems that offer intuitive control methods that match your lifestyle.
Energy Efficiency Strategies
Thoughtful lighting design considers sustainability:
- Zoning: Group lights by function and location to avoid illuminating unused areas.
- Motion Sensors: Install in transitional spaces like hallways, closets, and bathrooms.
- Daylight Sensors: Automatically adjust artificial lighting based on available natural light.
- Dimming Capabilities: Include dimmers for all primary light sources to reduce energy use and extend bulb life.
Types of Lighting Fixtures and Their Applications
The right fixture choice depends on ceiling height, room function, and aesthetic preferences. Here’s a comprehensive overview of options and their ideal applications.
Ceiling-Mounted Fixtures
Recessed Lights (Downlights):
- Components: Housing, trim, and light source
- Best for: Clean, minimal aesthetic; low ceilings; small spaces
- Ideal locations: Living rooms, kitchens, bathrooms, hallways
Surface Mount Lights:
- Advantages: Easier installation, decorative options
- Best for: Areas where recessed installation isn’t possible
- Ideal locations: Kitchens, foyers, closets, basements
Pendant Lights:
- Features: Suspended from ceiling, varied styles
- Best for: Focal points, task lighting over specific areas
- Ideal locations: Dining tables, kitchen islands, reading nooks
Wall-Mounted Fixtures
Sconces:
- Purpose: Ambient lighting, visual interest, space definition
- Best for: Complementing ceiling lights, narrow spaces
- Ideal locations: Hallways, bedrooms, living room accent walls
Picture Lights:
- Function: Highlighting artwork or architectural details
- Best application: Art galleries, feature walls
- Mounting height: Typically 7-10″ above artwork
Free-Standing Fixtures
Floor Lamps:
- Advantages: Flexibility, portable task lighting
- Best for: Reading areas, conversation corners, dark room sections
- Height considerations: Top of shade at eye level when seated
Table Lamps:
- Purpose: Task lighting, decorative accents
- Best for: Bedside tables, desks, side tables
- Size guideline: Shade diameter should not exceed table width
Room-Specific Lighting Strategies
Different spaces have unique lighting requirements based on their function, time of use, and emotional impact. Here’s how to approach lighting room by room.
Kitchen Lighting
The kitchen demands a particularly thoughtful approach as it combines intense task work with social interaction:
- Under-cabinet lighting: Essential for illuminating countertop work areas without shadows
- Island pendants: Should hang 30-36″ above the counter surface
- Recessed ceiling lights: Arranged to provide even illumination across the space
- Accent lighting: Inside glass cabinets or above cabinets for depth and interest
When designing kitchen lighting, consider how the space transitions between meal preparation, casual dining, and entertaining. Separate circuits and dimmers allow for appropriate lighting in each scenario.
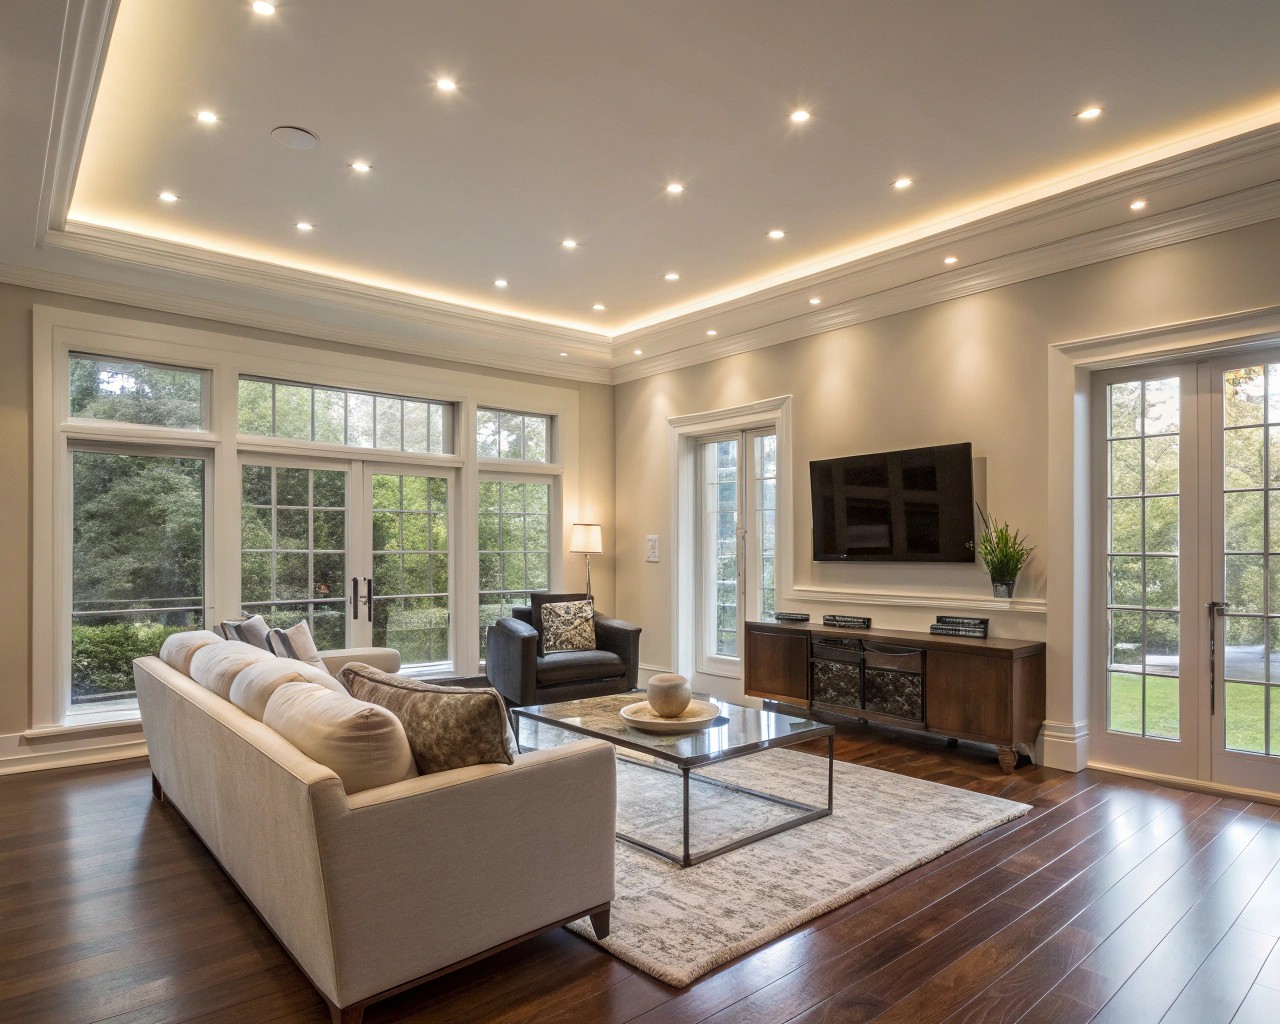
Living Room Lighting
Living rooms typically serve multiple functions throughout the day and evening:
- Layered approach: Combine ceiling fixtures, wall sconces, and portable lamps
- Reading corners: Dedicated task lighting positioned behind and over the shoulder
- Television areas: Indirect lighting to prevent screen glare
- Conversation zones: Moderate lighting that illuminates faces without being harsh
Creating “islands of light” throughout the living space allows for different activities to occur simultaneously without visual conflict.
Bedroom Lighting
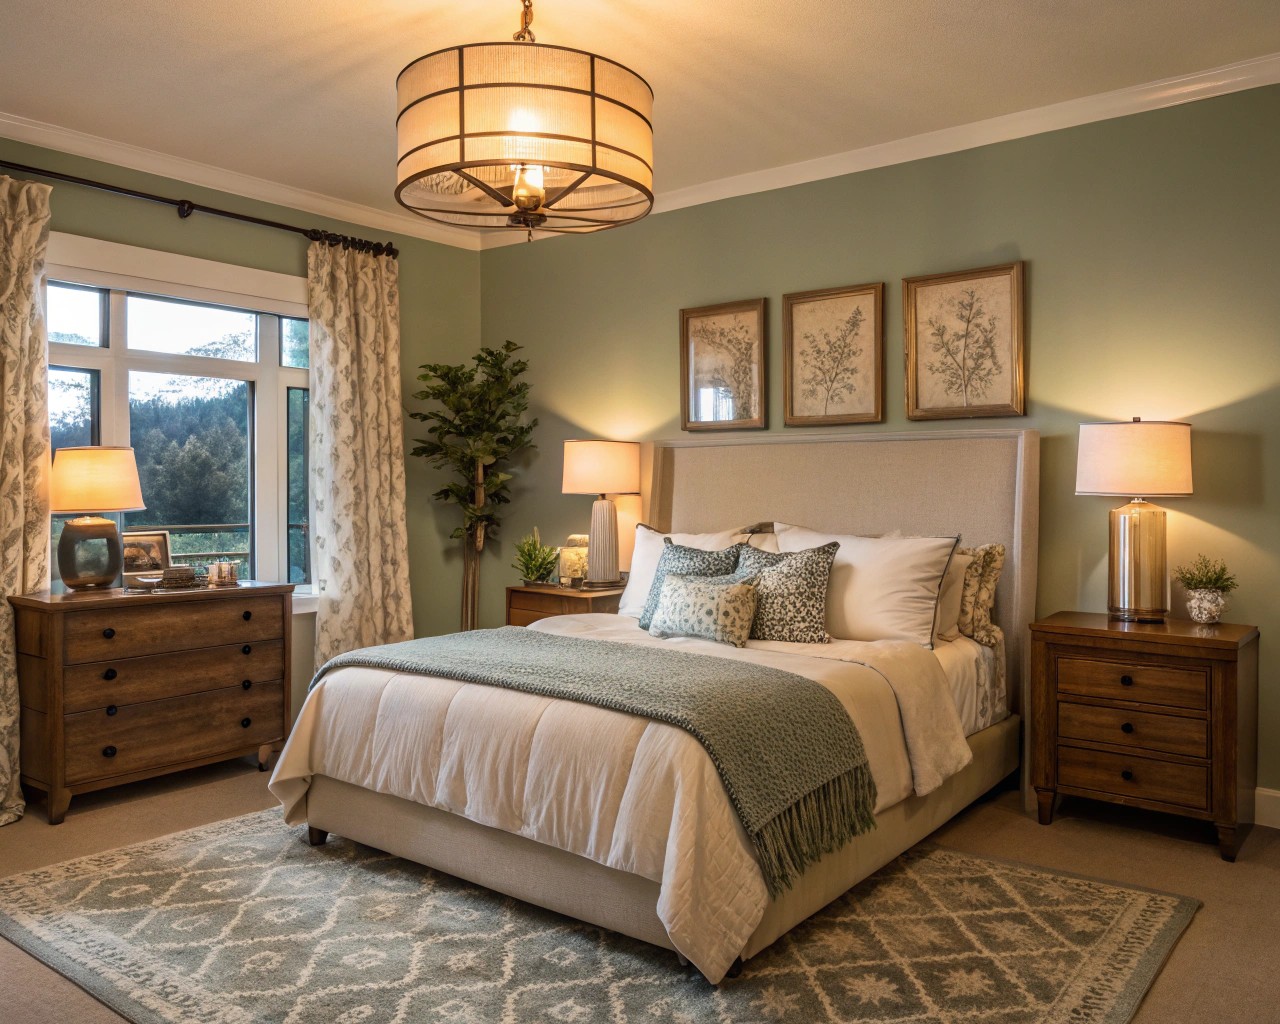
Bedroom lighting should support relaxation while still providing task functionality:
- Bedside reading lights: Directional to prevent disturbing a partner
- Dressing area: Even, shadow-free lighting
- Ambient ceiling light: On a dimmer for adjustable atmosphere
- Closet lighting: Motion-activated to illuminate only when needed
The bedroom lighting design should support the transition from evening activity to sleep preparation, with easy controls accessible from the bed.
Common Lighting Mistakes and How to Avoid Them
Even experienced designers occasionally make lighting missteps. Being aware of these common pitfalls helps ensure your lighting plan succeeds.
Mistake 1: Installing Insufficient Light Sources
Problem: Relying on a single central ceiling fixture that creates harsh shadows and inadequate illumination.
Solution: Layer multiple light sources at different heights and intensities. A well-lit room typically needs at least three light sources working together.
Mistake 2: Neglecting Dimming Options
Problem: Fixed-brightness lights that can’t adapt to changing needs throughout the day.
Solution: Install dimmers for all primary light sources, allowing adjustment based on natural light conditions and activities. Dimmers also save energy and extend bulb life.
Mistake 3: Ignoring Natural Light
Problem: Designing artificial lighting without considering how daylight interacts with the space.
Solution: Position furniture to maximize window exposure, use mirrors to reflect natural light deeper into rooms, and select artificial lighting that complements rather than competes with daylight.
Mistake 4: Poor Placement of Light Sources
Problem: Lights positioned in ways that create glare, shadows, or inadequate task illumination.
Solution: Test lighting positions before permanent installation. Consider how light will interact with surfaces, where shadows will fall, and how the light supports the activities in each area.
Mistake 5: Using Inappropriate Light Temperature
Problem: Selecting cool lighting for relaxation areas or warm lighting for task-focused spaces.
Solution: Match light temperature to room function: warmer tones (2700-3000K) for living spaces and bedrooms, cooler tones (3500-4000K) for kitchens and workspaces.

